Do You Wanna Build a Light Box?: A Peek Into an Exhibition Designer’s Process
By Lynette Martin, Exhibition Designer & Lead Preparator
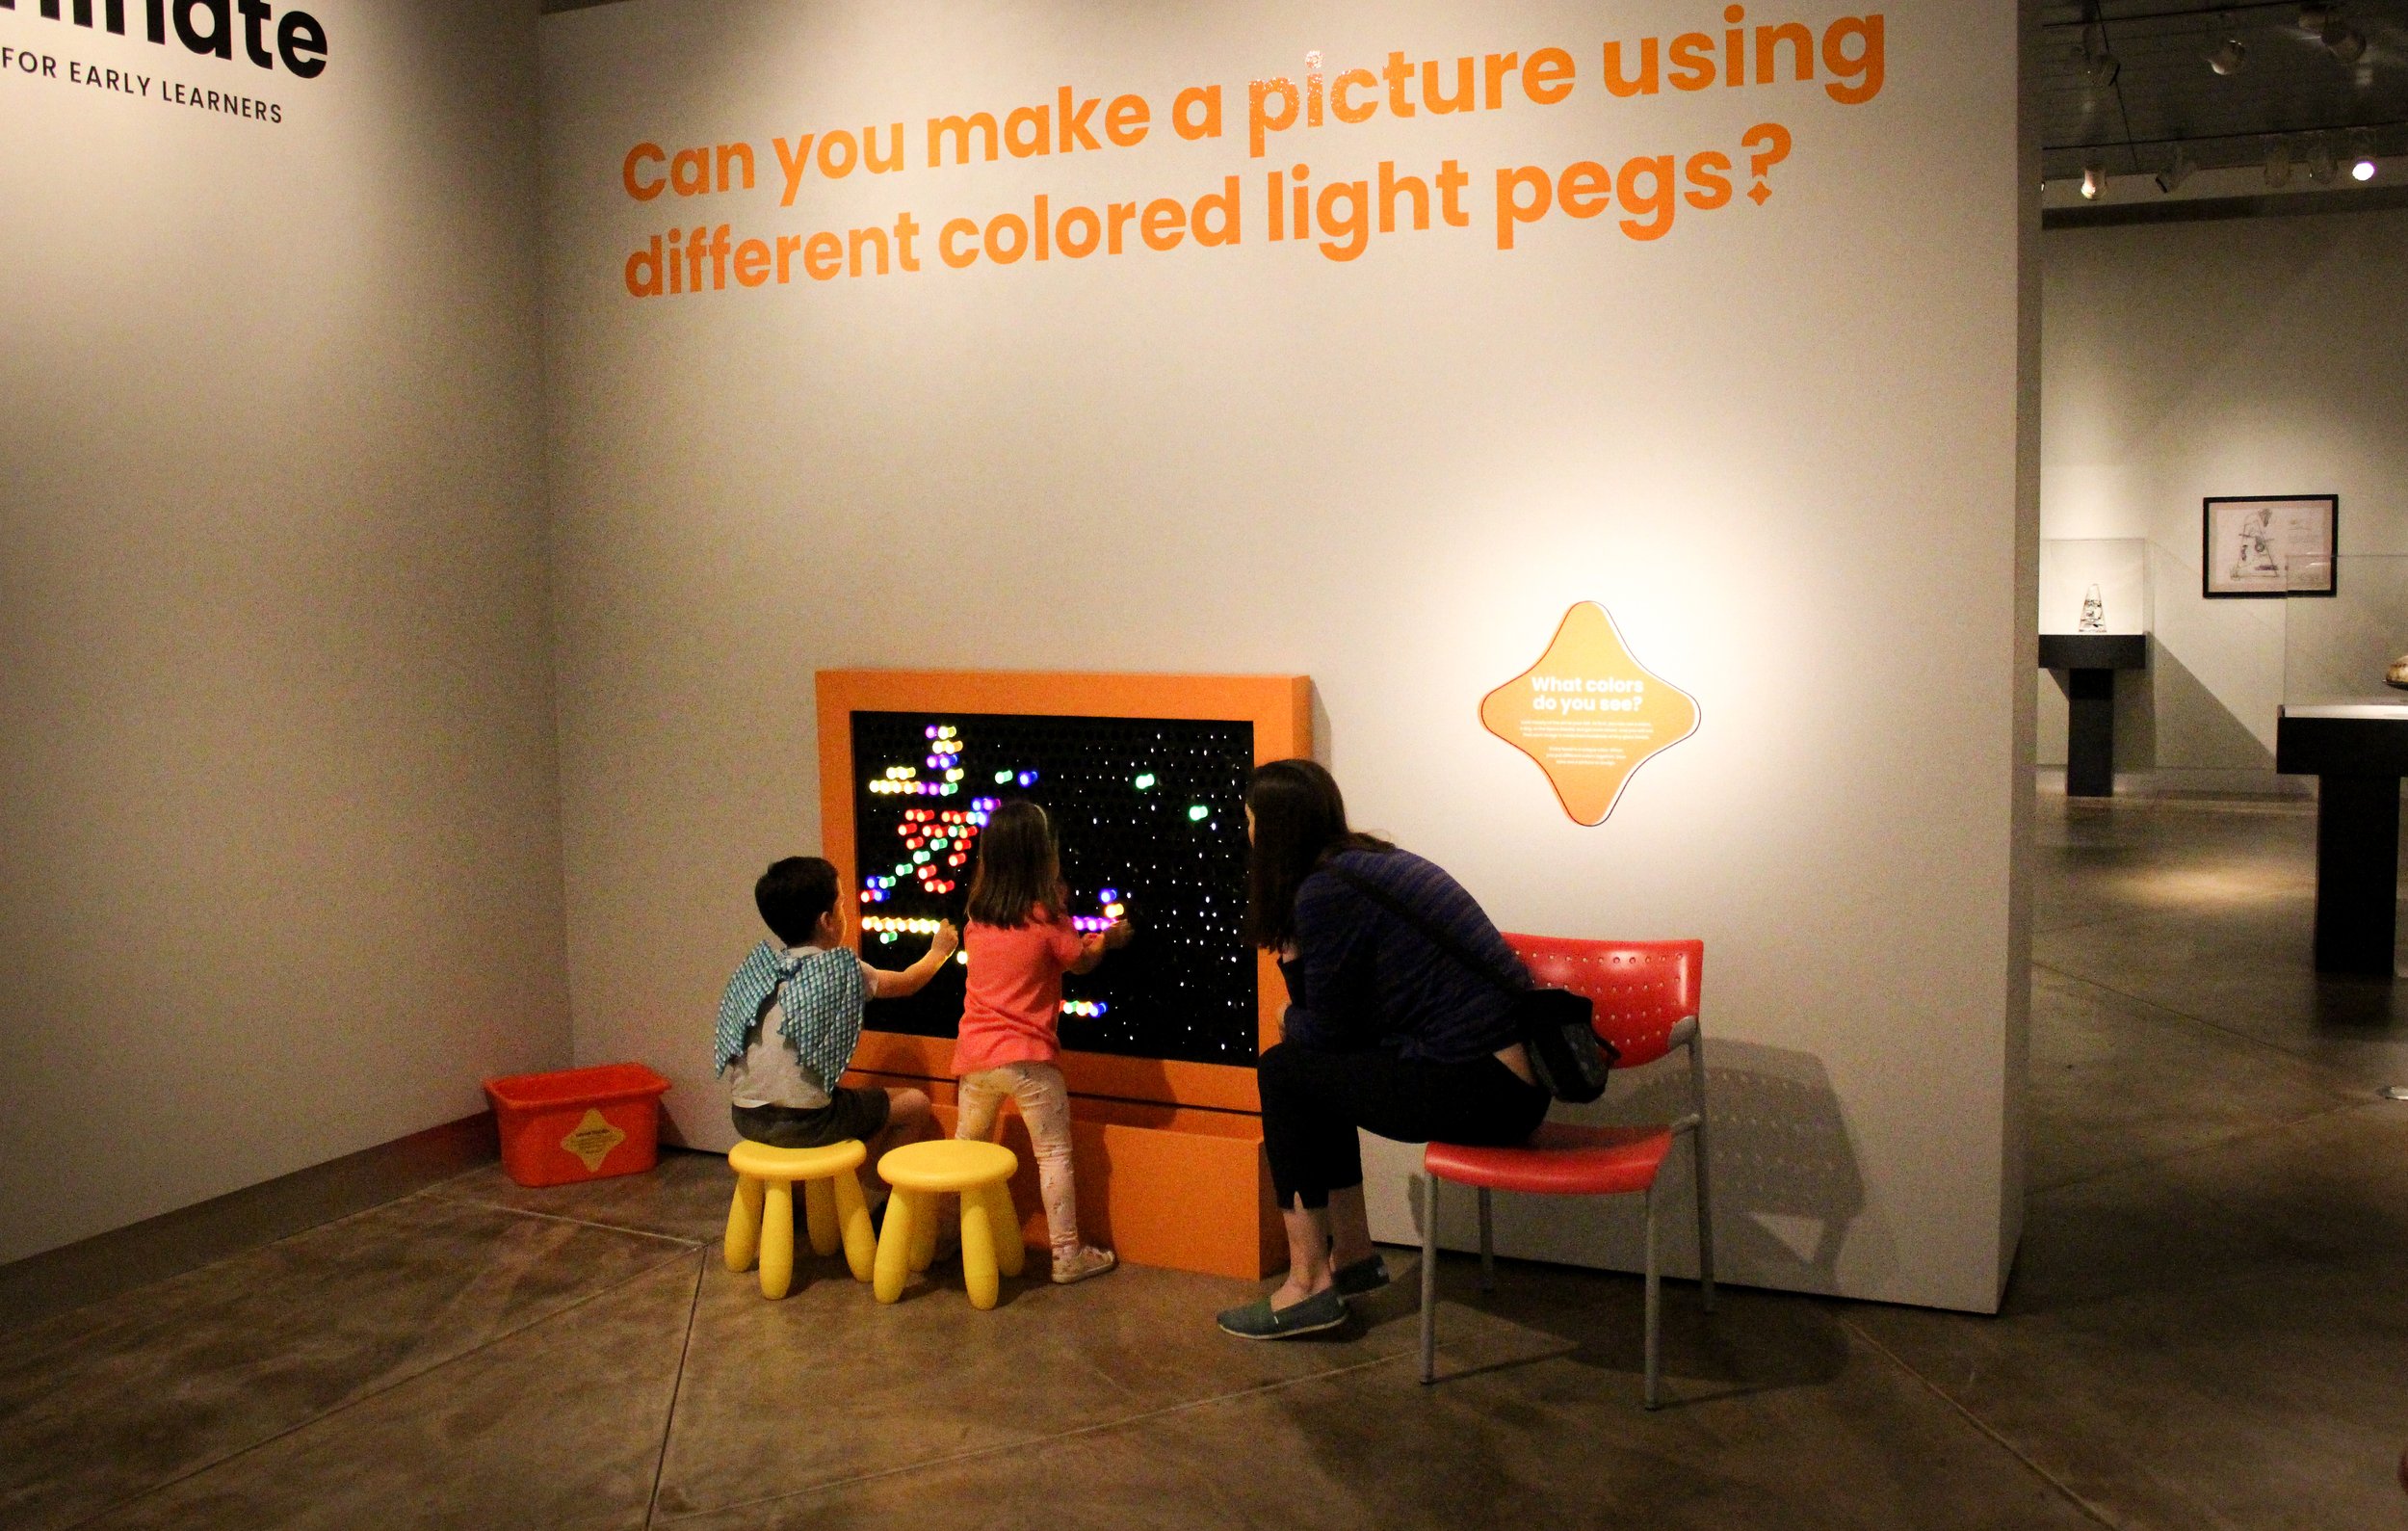
A family plays with the finished light box during Illuminate’s opening celebration. Photo by Museum of Glass.
Last month, Museum of Glass opened our newest exhibition, Illuminate: Glass Art for Early Learners. This exhibition is designed for early learners (kids ages 0-6) and their grown-ups to explore what makes glass a unique material through a mix of art, science, and play. Each piece of art in the exhibition is activated by an opportunity for kids and their families to create, to move, to play, and to experience what makes glass extraordinary in the world of art – its ability to capture and manipulate light. Out of all the elements requested for the Illuminate exhibition - to help teach visitors about color, light, reflection, and shadow - the large-scale, LiteBrite™-inspired light box was the build I wanted to execute.
As the Exhibition Designer and Lead Preparator at Museum of Glass, my job is to interpret the curators’ vision into a gallery exhibit. I’m the person who comes in at the end, once the exhibition’s art has been chosen, to design the floorplan layout, figure out whether there is a need for custom furniture builds to hold specific pieces of art, and, in this case, design and create interactive elements needed within the space. Illuminate was a special challenge, as we were trying to attract a different audience than we normally focus on.
Aside from the curator’s vision helping to guide my design decisions, I typically start my process for any show design by doing research. I research things like who the target audience is, the period during which the art was made, and the process and background of the artist(s). In my research, I look for something to spark my creative process. For this project, I wanted to see how other folks had designed and built something like this. I was able to find several videos and blog posts to compare and use to inform my own process and design (linked at the bottom of this post).
From there, I started to make my own drawing using Sketchup. Even though I have a background in building construction, as I’ve evolved in this role, I’ve found that using the computer to “build” furniture helps me to estimate for materials and to visualize how everything will fit together before I start the physical build. It does not, however, account for the way a material is going to behave when I start to work with it. There is always a certain amount of modification that happens as everything starts to come together – which, as you’ll see, held true for our light box project.

Lynette’s light box design.
I based the size of the completed design on a piece of Plexiglas I had lying around in my woodshop. It already had countersunk holes all the way around the edges, which were perfect for my application for this design. Also, it was a perfect size proportionally to the acrylic pegs we found. Thanks to that Plexiglas, I was able to really dial in my drawing. The next part was to wrap my head around doing the physical construction. I had a lot of holes that I needed to drill, somehow, to fit the acrylic pegs. In the videos and blogs I had looked at, they hand-drilled all of the holes, which sounded agonizing to me. So, I was trying to figure out if there was a way to at least minimize the agony. I thought about using a plunge router as a drill press so I could get uniform, straight holes. I called the Sumner Woodworker Store to look for a router bit large enough to use for 660 holes, a little under an inch in diameter. The floor manager asked me what I was working on, and I told him about my project, jokingly adding “Unless you know someone with a CNC.” He connected me with Tom Watson, owner and designer at Watson’s Wooden Words, that day! Tom was instrumental in helping me complete this part of the project quickly so I could keep moving with it.
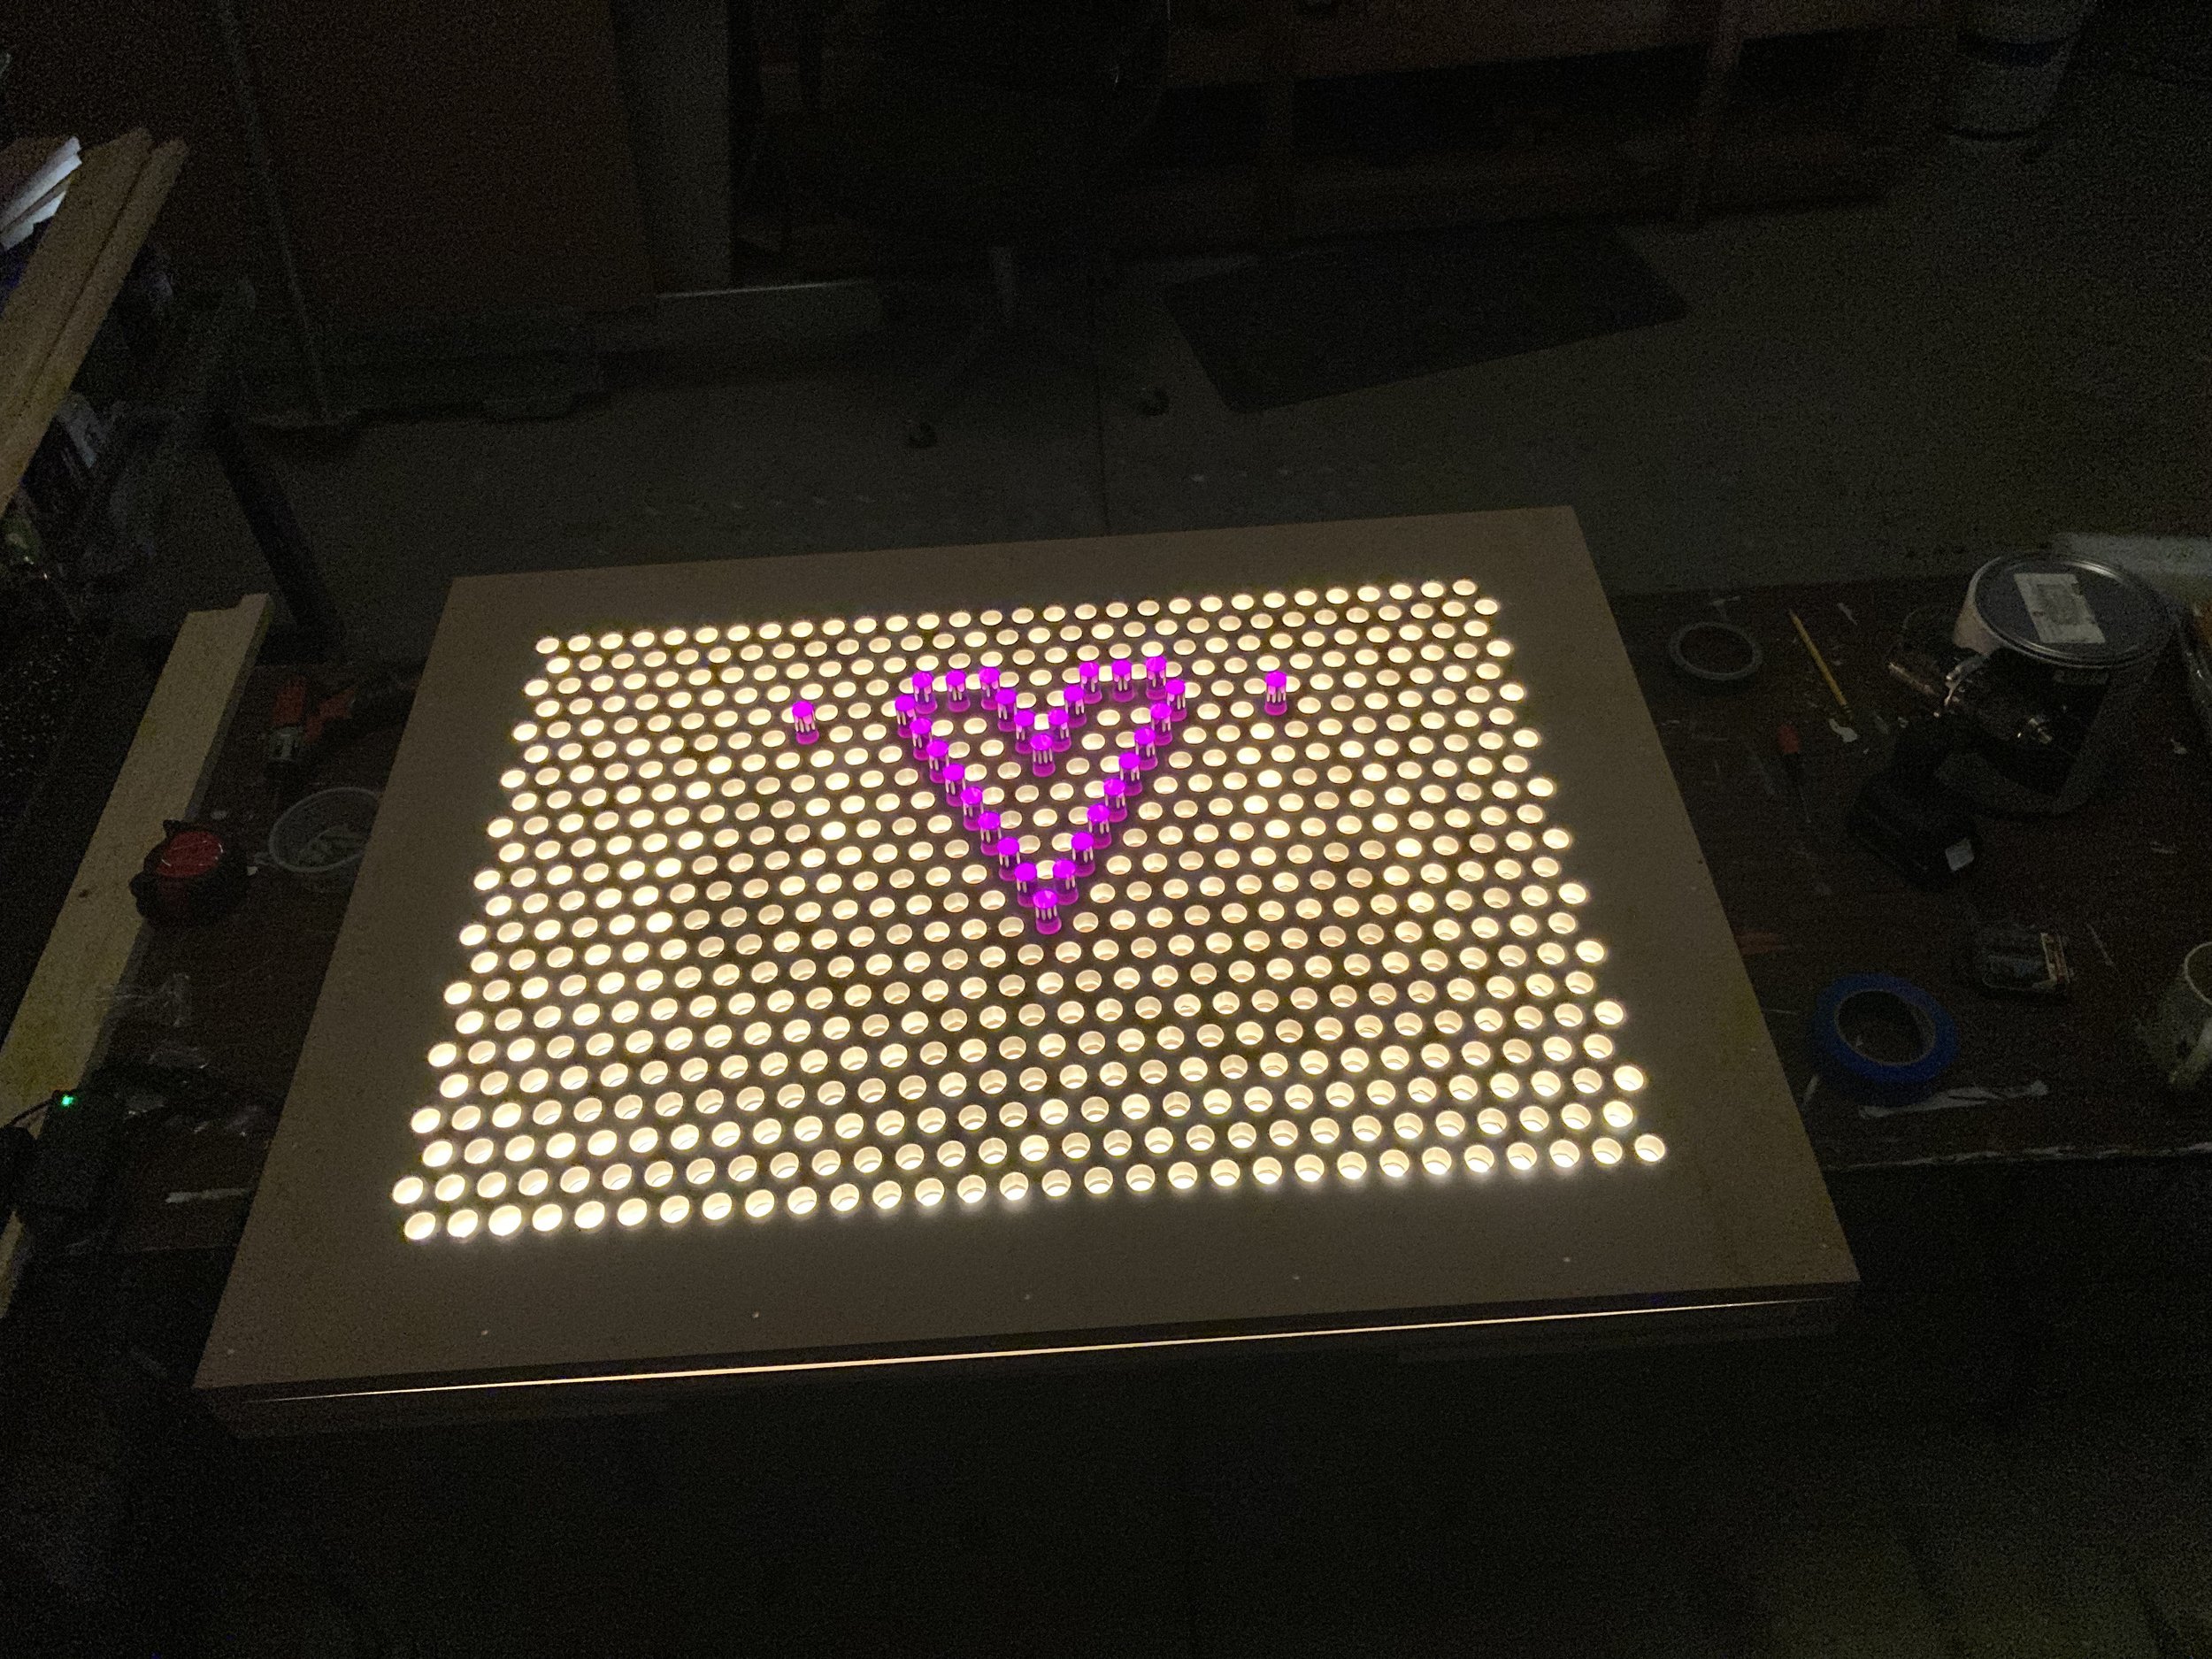
Once I had the drilled panels back on-site at MOG, I was able to start cutting down the remaining materials and layering everything together. It was critical for the end-use that all the layers lined up perfectly. In addition to making sure everything was in alignment, I had to:
Paint the inside of the lighted space white, including the back side of the drilled-out panel.

Paint the outside layers black, including the inner rim of each hole for the acrylic pegs.

Frost the Plexiglas, using fine grit sandpaper on an orbital sander.

Run string lights inside the box to illuminate the entire interior space.

Build a cubby for the acrylic pegs that would both support the entire light box and hide the electrical components.

Once the light box unit was put together, I switched into troubleshoot mode to make some modifications:
Switching out the rubber gauge - the original rubber was too thick and it took three of us to hammer the acrylic pegs out of the prototype!

Adding space between a second layer of medex and Plexiglas so that the pegs didn’t back themselves out of the holes spontaneously and pop out at visitors.
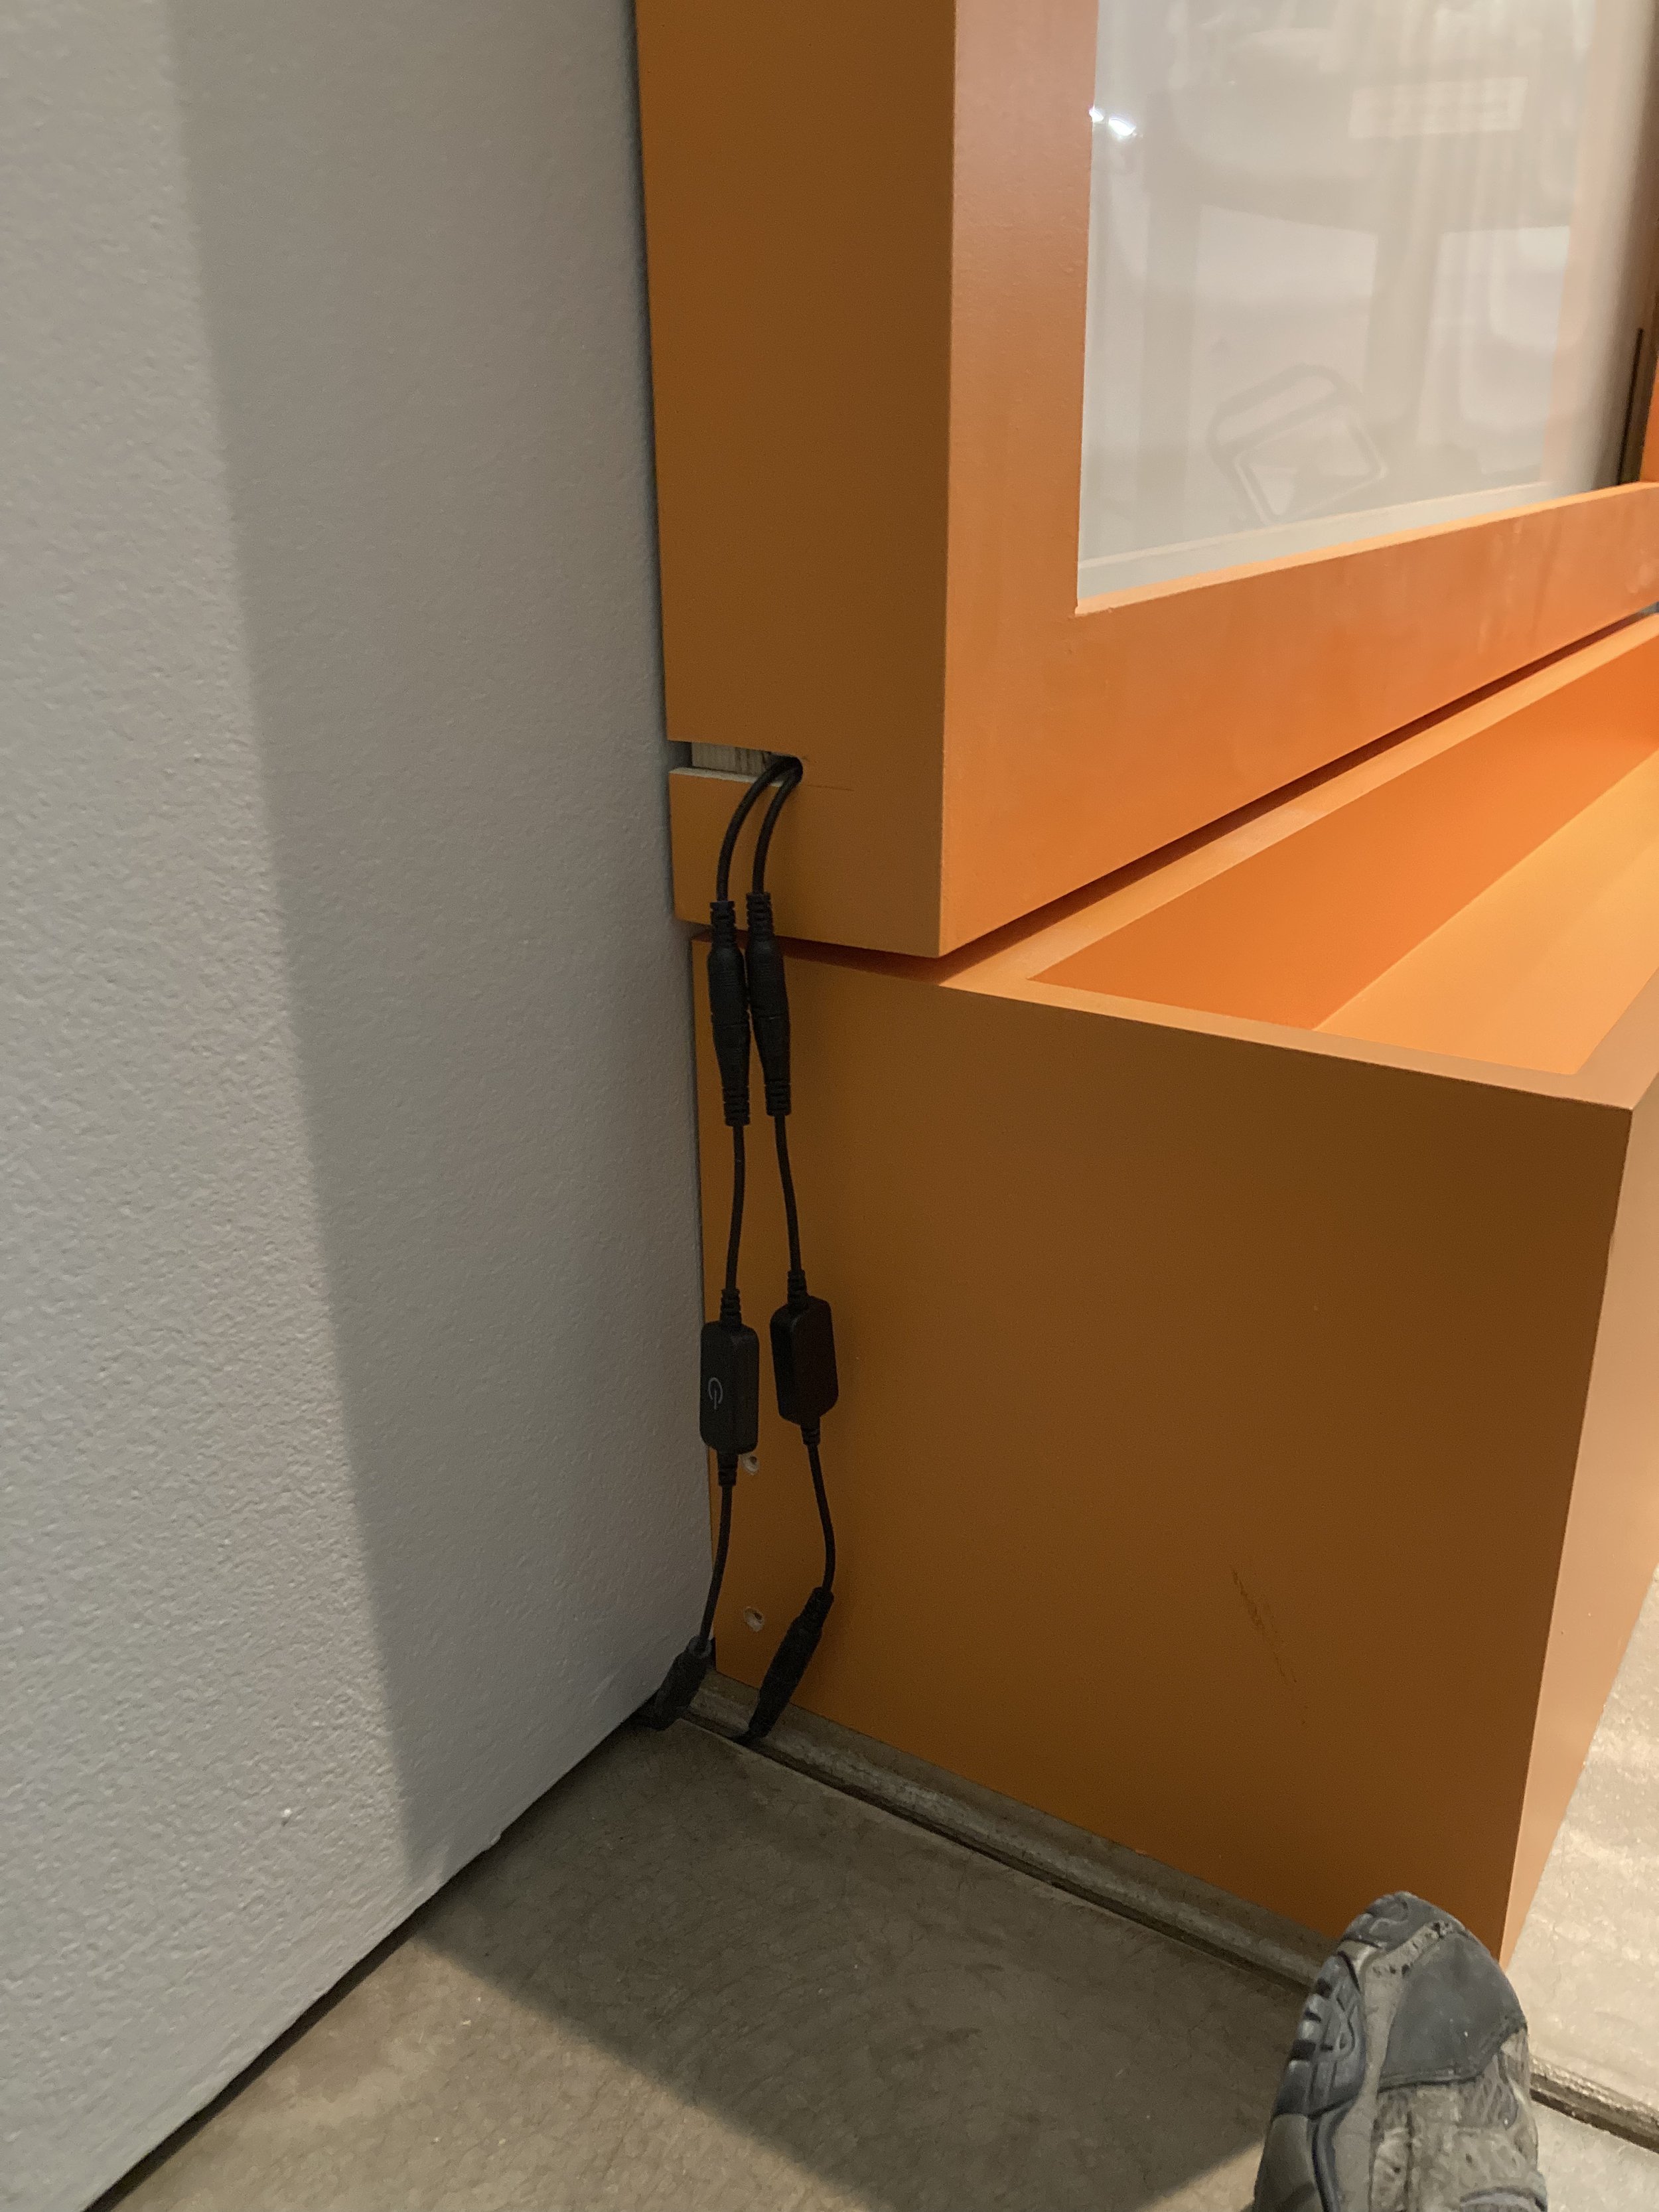
Chasing the electrical cords and hiding their evidence for a clean finished look.
And finally, building a frame to sandwich together all of the light box’s layers.

This project was a break for me from my typical builds. I’m happy with the way it all came together, despite some minor changes and challenges. It’s always fun to see visitors interacting with my work in the galleries, and now our readers can see the steps involved in creating custom-designed furniture like this!

Resources:
Angela Rose Home: Giant DIY Lite Brite That Anyone Can Make
Chica and Jo: Make a Giant Lite Brite
Chipped Builds: Giant 4x8 Foot Lite Brite How-To
David Wade Woodworking: Giant Lite Brite with Solid Acrylic Pegs, How-To Woodworking
Illuminate: Glass Art for Early Learners is on view now through March 2024.